You are currently browsing the category archive for the ‘Food’ category.
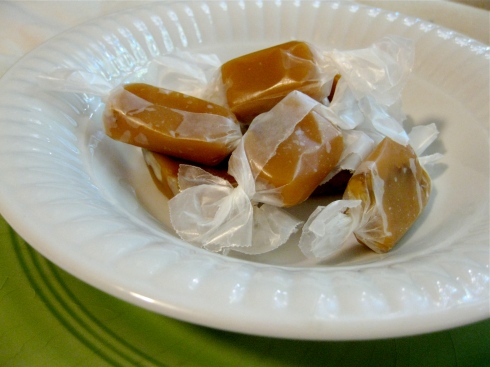
I saved a few to eat, then gave the other 70 away to happy friends
I love Berkeley. Right now the university is in uproar over student fee hikes, staff layoffs and the future of the school. I keep reminding myself that there is a mini sanctuary where I can catch my breath. A small section of the Valley Life Sciences Library is dedicated to cookbooks. Lots of cookbooks—from many cultures, languages (there are tomes in Arabic) and styles. When I have an awkward break between classes or I don’t want someone to see me ditching the picket lines, I come to the cookbooks, sit down on the library floor and salivate.
A week ago I came upon Alice Medrich’s book called Pure Dessert. Its clean, modern and casual style attracted me—the inviting pictures sold me. Especially the one of gleaming, creamy caramels.
Caramels are probably my favorite candy. Growing up in suburbia, I thought the little cubes of caramel sold in huge bins at Long’s were the best caramels ever. Now I realize that those were chalky, artificial imposters compared to homemade caramels.
However, caramel seemed daunting to me. Thermometers?? Exact temperatures?? Are we in chem lab or something? So I’ve always wanted to make them and finally Alice’s picture and simple recipe gave me the courage.
I consulted the great Joy of Cooking to see what it said about caramels. The most important piece of advice was to prepare everything you need ahead of time. Since I cooked these beauties in a fraternity kitchen, I took extra care in cleaning the interesting smelling pastry brush and found a lid that kind of fit a pot. Read through the recipe a few times before you start. Vigilantly watch the temperature rise on the thermometer. You will be fine, you can do it.
Actually, the most time consuming part of the process was wrapping all these little guys in wax paper. High excitement. My advice: put pandora on and get some friends together to help you wrap them, it will be less painful.
Honey caramels
Recipe from Pure Dessert by Alice Medrich
Makes 80 1-inch caramels
For more delicate honeys, increase the honey to 1/3 cup and ruduce the corn cyrup to 2/3 cup.
Ingredients:
2 cups (8 ounces) broken or coarsely chopped walnut pieces (optional and I used pecans because that is what I had)
3/4 cup light corn syrup
1/4 cup honey
2 cups sugar
3/8 teaspoon fine sea salt
2 cups heavy cream
3 tablespoons unsalted butter, cut into chunks and softened
1 tablespoon plus 1 teaspoon pure vanilla extract
Equipment:
a 9 inch square baking pan
candy thermometer
Instructions:
Line the bottom and sides of the baking pan with aluminum foil and grease the foil. If using the walnuts, spread them in the prepared pan. Set aside.
Combine the corn syrup, honey, sugar, and salt in a heavy 3-quart saucepan. Cook over medium heat, stirring with a silicone spatula or wooden spoon, until the mixture simmers around the edges. Wash the sugar and syrup from the sides of the pan with a wet pastry brush. Cover and cook for 3 minutes. ( Meanwhile, rinse the spatula or spoon for use again later.) Uncover the pan and wash down the sides once more. Attach the candy thermometer to the saucepan, without letting it touch the bottom of the pan, and cook, uncovered, without stirring until the mixture reaches 305°F.
Meanwhile, heat the cream in a small saucepan until tiny bubbles form around the edges of the pan. Turn off the heat and cover the pan to keep the cream hot.
When the sugar mixture is at 305°F, turn off the heat and stir in the butter chunks. Gradually stir in the hot cream; it will bubble up and steam dramatically. Turn the burner back on and adjust so that the mixture boils energetically but not violently. Stir until smooth. Continue to cook, stirring occasionally, to about 245°F. Then cook, stirring constantly, to 248°F for soft chewy caramels or 250°F for firmer chewy caramels.
Remove the pan from the heat and stir in the vanilla. Pour the caramel into the lined pan. Let set for 4 to 5 hours, or overnight, until firm.
Lift the pan liner from the pan and invert the sheet of caramel onto a sheet of parchment paper. Peel off the liner and turn the caramel right side up. Cut the caramel into 1 inch squares, skinny bars, or any shape desired. Wrap each caramel individually in wax paper or cellophane.
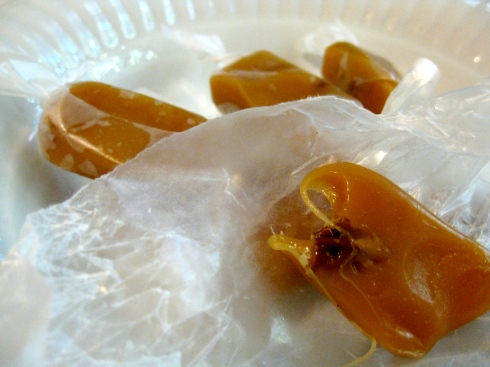
you really can't just eat one
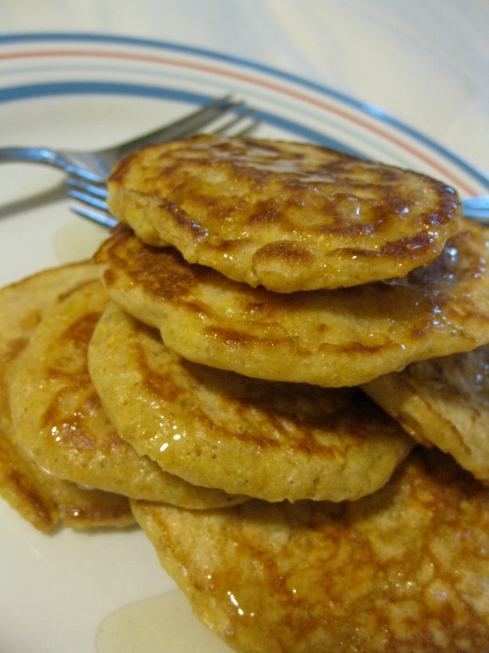
hearty breakfast for a dreary morning
Usually I procrastinate with these blog posts. I will make something then tell you about it a month later. Not so today. I woke up this morning to a rainy sky. This means pancakes. Corn pancakes. Let me explain:
A few years ago my family and I trekked to New Hampshire for my cousin’s mountain top wedding. It was a dreary morning so we decided to seek out a legendary pancake restaurant. This is my favorite breakfast/pancake restaurant ever. The name—Polly’s Pancake Parlor. It is a small, kitchy log cabin on the top of a grassy hill surrounded by forest. Your waitress takes your order…then makes the pancakes herself. There are little jars of pure maple spread on the tables that melts like butter on the pancakes. Ever since eating there I can never be satisfied with homemade pancakes. Emre has tried to make pancakes that rival Polly’s, but he has yet to succeed. This morning, with this recipe, I came the closest yet to repeating my pancake experience at Polly’s.
Buttermilk cornmeal pancakes (adapted from The Daily Loaf)
(makes 10 4-inch pancakes)
1/2 cup cornmeal
1/2 cup flour
1/2 teaspoon salt
1 teaspoon baking powder
1/2 teaspoon baking soda
1 cup buttermilk
2 eggs
1/4 cup honey
1 teaspoon vanilla extract
1 tablespoon butter, melted
Turn on oven to lowest setting, place a plate in the oven.
Mix the dry ingredients in one bowl and the wet ingredients in another bowl. Mix the dry ingredients into the wet ingredients in two parts. Mix just until everything is combined (a.k.a don’t overmix).
Heat a nonstick skillet and smear some butter in the pan. Wait until the butter turns golden brown, then plop the batter into the pan (make them as small or big as you like). Flip the pancakes when bubbles start to pop up through the batter. They should be nicely golden brown. Let them cook maybe a minute on the second side, then put them on the warmed plate in the oven.
Wipe the skillet clean with a paper towel. Add new butter and repeat the pancake cooking process until all of the batter is gone. Now you will have a nice warm plate of pancakes in the oven. Serve drizzled with honey or maple syrup.
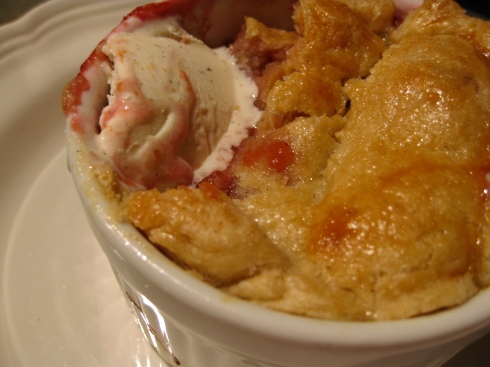
warm, cute and fuzzy (from the peaches of course ;))
Yay! School is underway. Booo, less time for cooking. Regardless, I will find a way to cook something worth showing you.
Well, these little fruit pies are delicious, hearty single serving desserts that use up the quickly ripening fruit in your pantry. Seriously, use whatever combo of stone fruits that you have on hand: peaches, nectarines, plums, pluots, apricots etc. There is a bargain section of Berkeley Bowl where a gallon sized bag filled with assorted ripe fruit costs 99¢. Yeah. That bag will make a lot of little stone fruit pies. Delicious way to economize and still feel spoiled.
Mini-Stone Fruit Pies
(Makes 6 mini-pies in 8 oz ramekins)
Crust:
Click this link and follow the directions. Refrigerate up to overnight or freeze for up to one month. Defrost in the refrigerator for 1.5 days if you freeze it. (I suggest you make double the recipe and freeze half to make a juicy peach pie on a later date)
Filling:
6 cups assorted stone fruit washed, pitted and cut into medium pieces
zest of one lemon plus 1 tablespoon of lemon juice
zest of one orange
cinnamon to taste
sugar to taste
pinch of salt
Egg wash:
1 egg and 1 tablespoon water whisked together
Instructions:
Heat oven to 400°F. Combine all of the filling ingredients in a bowl. Taste a piece of fruit to see if you want to add more sugar, cinnamon or citrus juice. Fill ramekins to the top with the fruit filling. Roll out pie dough on a floured surface until it is about 1/4 inch thick. Cut rough circles out of the dough so the circles will overlap the top of the ramekins slightly. Place the dough on top of the filling, pressing around the edges to seal. Brush the tops with the egg wash and sprinkle with sugar. Slice little steam vents in the dough. Put the ramekins on a sheet pan and place in the oven for 35-45 minutes or until the fruit juices are bubbling and the crust is golden brown.
Honestly, I just wanted to find a way to use these ramekins that we bought. Also, people enjoy having their own little pie to dig into. The pies NEED to be served warm with vanilla ice cream. No arguing.
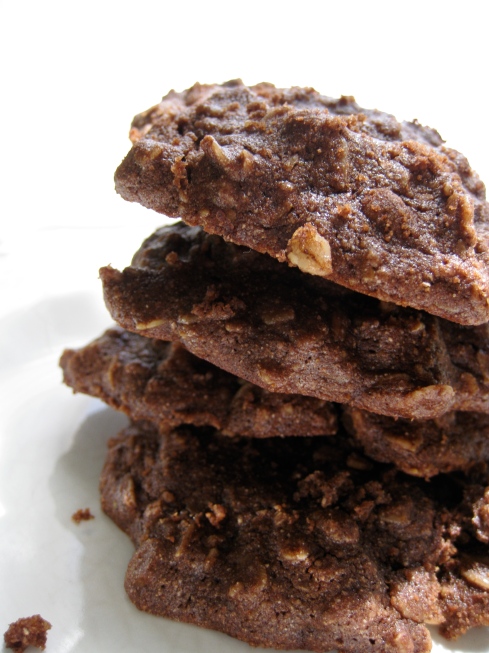
for chocolate lovers who don't want all the guilt
Until recently, Sarah was my neighbor who brought over her vegan baked creations. One day she came over with these super chocolately, hearty cookies. “Sarah,” I mumbled through a mouthful of cookeis, “can I have the recipe?” Now Sarah is exploring Italy, I wonder what delicious creations she will come up with there….
Sarah’s Vegan Cocoa Oatmeal Cookies
Ingredients:
1 cup wheat flour
1 1/2 cup oats
1/3 cup cocoa powder
3/4 baking powder
pinch of salt
as much cinnamon as you want
3/4 cup brown sugar
1/4 cup white sugar
1 teaspoon vanilla
1/2 cup soy milk
1/2 canola oil
zest of an orange (optional)
1. Preheat the oven to 350°F.
2. Mix first six ingredients in a bowl. Mix the remaining ingredients in another bowl.
3. Pour the wet mixture into the dry mixture until everything is combined.
4. Drop golfball sized portions onto an ungreased cookie sheet leaving a couple inches in between. The dough will be wet and sticky, but don’t worry.
5. Bake for 10-12 minutes, turning sheets halfway through. Make sure not to overbake, then the cookies get too dry. Err on the side of underdone because they keep cooking when you take them out. (try 9 minutes)
6. Let cool for a few minutes and enjoy!
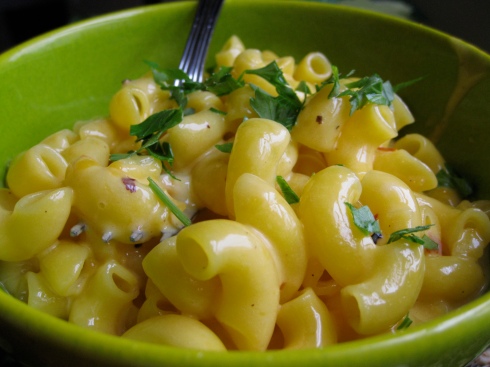
cheesy, quick and hearty. serve with a crisp, lemony salad
Who knew that mac and cheese was easy to make? I thought, since it came in a box, that somehow Kraft was saving us from hours of tortuous labor. Don’t be fooled, the boxed mac and cheese is not saving you that much time. Plus, homemade is just flat out tastier.
Stovetop mac and cheese recipe:
2 cups of macaroni*
10 oz. cheddar cheese, grated
3 oz. fontina cheese, in small chunks
2 eggs
1/2 cup of cream
1 tbsp. butter
pinch of red pepper flakes
black pepper and salt to taste
Boil a big pot of water. Salt the water and add the macaroni. Cook until it is al dente. Drain the pasta. In the same pot, warm the cream slightly. Turn off the heat and whisk the eggs into the cream (this prevents the eggs from scrambling). Turn the heat back on to low, whisk in the butter. Whisk in the cheeses slowly. When the cheese melts completely, add the red pepper flakes, black pepper and salt. Taste and adjust seasoning.
Add the drained pasta into the cheese sauce and stir. Serve with some freshly chopped flat-leaf parsley on top.
*in the picture above I used quinoa elbow macaroni. It is higher in protein than wheat macaroni and is gluten free.
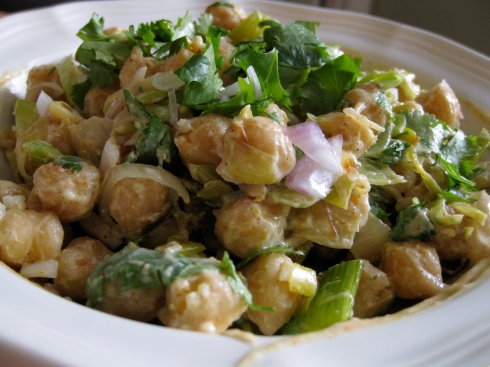
healthy, satisfying and flavorful
Dried beans. Scary. Who has the time to soak and boil beans for hours on end? Why not just pop open a can of beans? Ok, since it is summer, I feel like I have time to experiment. So I used dried chickpeas, soaked them and boiled them. Ta-daaah! It wasn’t so bad, it just means you need to be around while the beans are boiling. Perhaps the most enjoyable part is that dried beans are way cheaper than canned beans.
Onto this salad recipe. Satisfying, healthy and it is from my favortie blog 101 Cookbooks. The recipe is here. Definitely add the toasted almonds, it needs the crunch. This dish would be great for a picnic or beach day.
Method for cooking dried chickpeas (or you can use canned and skip all this):
Soak the chickpeas in a bowl, barely covered with water, overnight in the refrigerator. Add 3 cups of water per 1 cup of soaked beans to a big pot. Bring the water and beans to a boil, then lower to a simmer for 2 to 2.5 hours until the beans are done. They should be super creamy and tender. Now you can use them to make this salad, hummus etc. If you are not going to use them within a few days, you can freeze them.
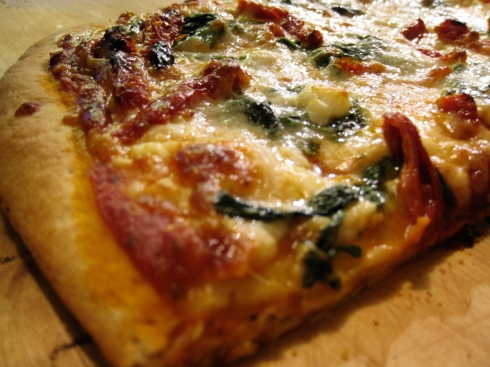
cheesy and satisfying. get creative with the toppings (:
For 4th of July I wanted to make grilled pizza. Since I don’t have a grill, I turned on my oven to the highest temp (500°F) and made delicious, thin crust pizza.
The dough recipe is online here. Instead of using just all purpose flour, I used a combination of whole wheat pastry flour, all purpose and semolina flour. The food processor method worked well. I let the dough rise for 30 minutes to develop flavor and texture.
Topping possibilities are endless. For this type of pizza, make sure the toppings are not too thick otherwise the crust won’t cook. Also, if you want to put meat on the pizza like chicken or pork, cook the meat beforehand. The pizza is in the oven for a short period of time, so raw meat will not fully cook.
Toppings I used:
my half of the pizza: homemade pesto, salami, mozzarella
my other half’s half of the pizza: marinara sauce, basil (put it under the cheese so it doesn’t burn), sun-dried tomato, feta cheese, mozzarella cheese
Process:
Preheat your oven the the max temperature (think about how hot those wood burning pizza ovens get). Punch down the risen dough. Lightly flour a work surface. Roll out the pizza dough with a rolling pin into a rectangle. You can also make circular mini pizzas. Dust a cookie sheet with cornmeal, this keeps the dough from sticking. Place the dough on the sheet. Spread toppings thinly on top of the dough. Place in oven. Cooking time will vary depending on the temperature of your oven. I think mine took about 7 minutes, but keep a close eye on it because the pizza can quickly go from perfect to burnt.
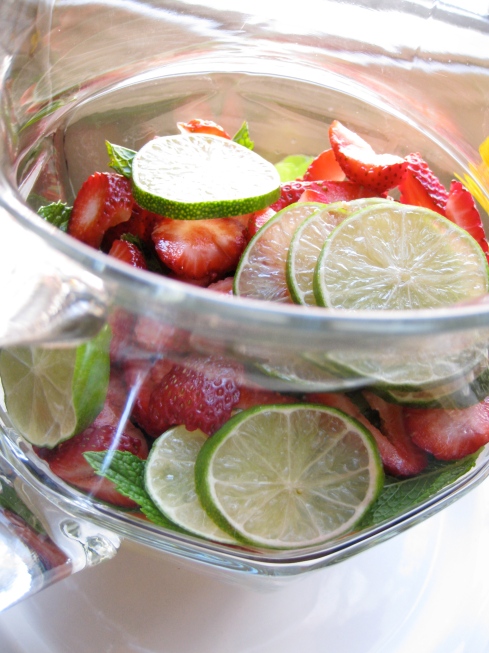
crisp, cool, fruity
Emre and I were brainstorming what to make for our friend Katie’s 21st birthday. He came up with sangria. Perfect for a hot day in our air condition free apartments. To make the gift complete, we gave her the sangria in a classy glass pitcher from Crate and Barrel. I think it would be pretty as a flower vase too.
We used the fruits that were in our kitchen. I think you could do many combinations of fruit, as long as you have some citrus in there. This recipe is not super sweet, so add the peach nectar or simple syrup if you want a sweeter drink.
White Wine Sangria:
1.5 liter of dry white wine (we used James Arthur Field, cheap and decent)
1 orange, sliced thinly
1 peach, skin on, sliced
1 lemon, sliced thinly
1 lime, sliced thinly
1 apple, skin on, sliced
1 pint of strawberries, cored and sliced
1 cup of fresh mint leaves
peach nectar (optional)
Layer the fruits in a large pitcher. Pour in the wine. Let the flavors meld in the fridge for a couple hours. Serve in glasses and add peach nectar to taste.
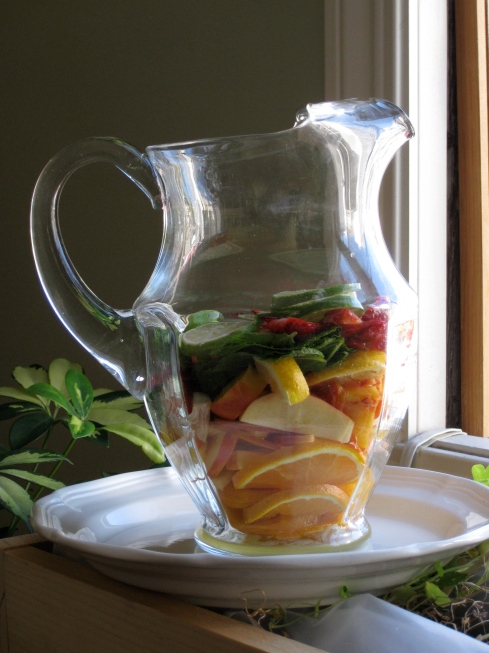
emre took this picture of the sangria right before we poured in the wine
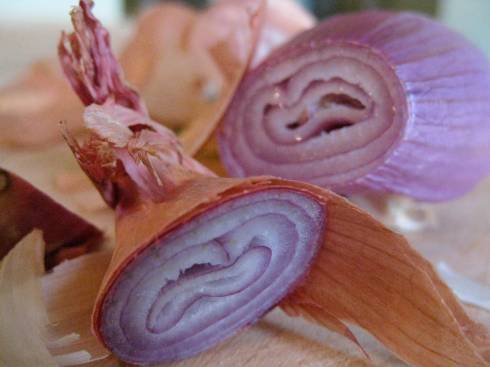
shallots are flavorful but not overwhelming in a vinagrette
I love green beans. No, not the canned martian mushy ones that my little brother adores. I love the fresh, crispy deep green beans that you can grab big handfulls of at the market. Since it is hot outside (ok quite comfortable to the socal people, but hot for Berkeley) I wanted to make something cool, crunchy and healthy. Enter, green beans in vinagrette.
There are different kinds of green beans. For this salad I use French green beans called haricot vert because they are smaller, both in length and width than the blue lake variety.
Haricot Vert with Shallot Vinagrette
Ingredients:
haricot vert- a couple big handfulls (however much you want, just make more dressing if you are cooking for a crowd)
1/4 cup minced shallot
lemon juice
1 tablespoon dijon mustard
olive oil
salt and pepper
Boil a pot of salted water. Have ready a bowl of salted ice water. Sometimes the beans have tough ends, so cut those off. Put the beans into the boiling salted water and cook them for a minute or so, until they are crisp-tender (love using vague cooking terms, just taste it until you like the texture). Take the beans out of the boiling water and put them in the ice water. This stops the beans from overcooking and also helps them keep their bright green color. Let them sit for a minute in the water then drain the beans.
For the vinagrette. Combine the shallot with a couple tablespoons of lemon juice and the mustard. Slowly add the olive oil while whisking the mixture. The proportion for vinagrette is usually two parts oil to one part acid (lemon juice, vinegar etc.) but I usually add a little less olive oil. Add salt and pepper to taste.
Toss the drained green beans with the vinagrette and chill in the fridge. You could eat them right away, they just won’t be totally cooled.
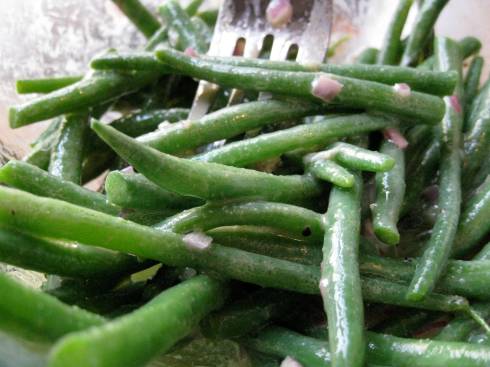
tangy, crunchy and bright salad for a hot summer day
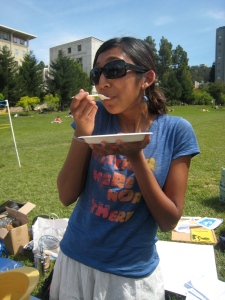
cal cooking club's co-president shikha
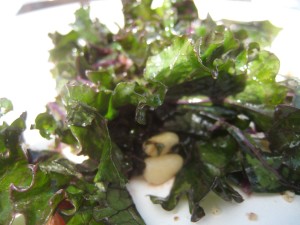
nutrient rich, tasty kale
On April 21 I helped Cal Cooking Club run a cooking demonstration for the Earth Week celebration on Memorial Glade. It was a hot sunny day and we had two raw dishes to demonstrate: a raw kale salad and a raw apple strawberry crisp. Now, I am not an advocate of eating all raw food, but it so happens that these recipes are delicious.
First up, the crisp. The recipe came from Cafe Gratitude, which is a raw, vegan restaurant that has a few locations in the Bay Area.
Raw Apple Strawberry Crisp recipe:
Crust
4 ½ c. walnuts or almonds
¼ c. well packed, very finely chopped dates
2 T. cinnamon
1 T. vanilla
1/8 t. salt
Filling Ingredients:
8 c. sliced apples
5 c. sliced strawberries
¼ c. maple syrup
¼ c. lemon juice
1 T. vanilla
A pinch of salt
For the Crust
In the bowl of your food processor fitted with the “S” blade process for 1
minute 3 cups of the nuts with the cinnamon, vanilla, and salt. Continue
to process while adding small amounts of the dates. Then place in a bowl
and add remaining 1-½ cup pecans. Press the crust into your pan. Setting
aside 1-½ cups for the topping.
For the Filling
Combine all the ingredients in a bowl and mix well. Evenly distribute the
filling on top of crust. Then crumble the remaining crust on the top.
Refrigerate for a bit before serving for best results. Serve with ice
cream!
Note: You may substitute local ripe seasonal fruits for the strawberries
and apples.
(Thanks for sending me the recipe Shikha 🙂 )
Next up, the raw kale salad. Cal Cooking Club’s co-president Sophia created this recipe. I was not sure this would be tasty because kale is tough when it is eaten raw. However, the lemon juice and the salt tenderize the kale perfectly. You can use any kind of nut and any kind of dried or fresh fruit. Play with it/use what you have in your pantry.
Raw kale salad recipe:
1 bunch of kale ( I like the California kale variety), washed, sliced thinly
1 cup walnuts, toasted and roughly chopped
1 cup dried or fresh fruit chopped
lemon juice
olive oil
salt, pepper
I like to slice the kale stalks thinly and include them in the salad. Be bold, include the stalks. Mix everything together, use your own discretion on how much lemon juice, olive oil, salt and pepper to add. Let it sit for a few minutes, eat up.
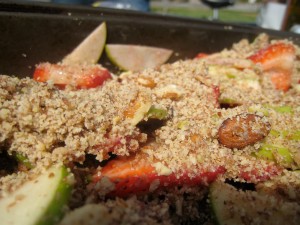
quick, healthy, refreshing

adventurous cal students, they said they liked the food (:

